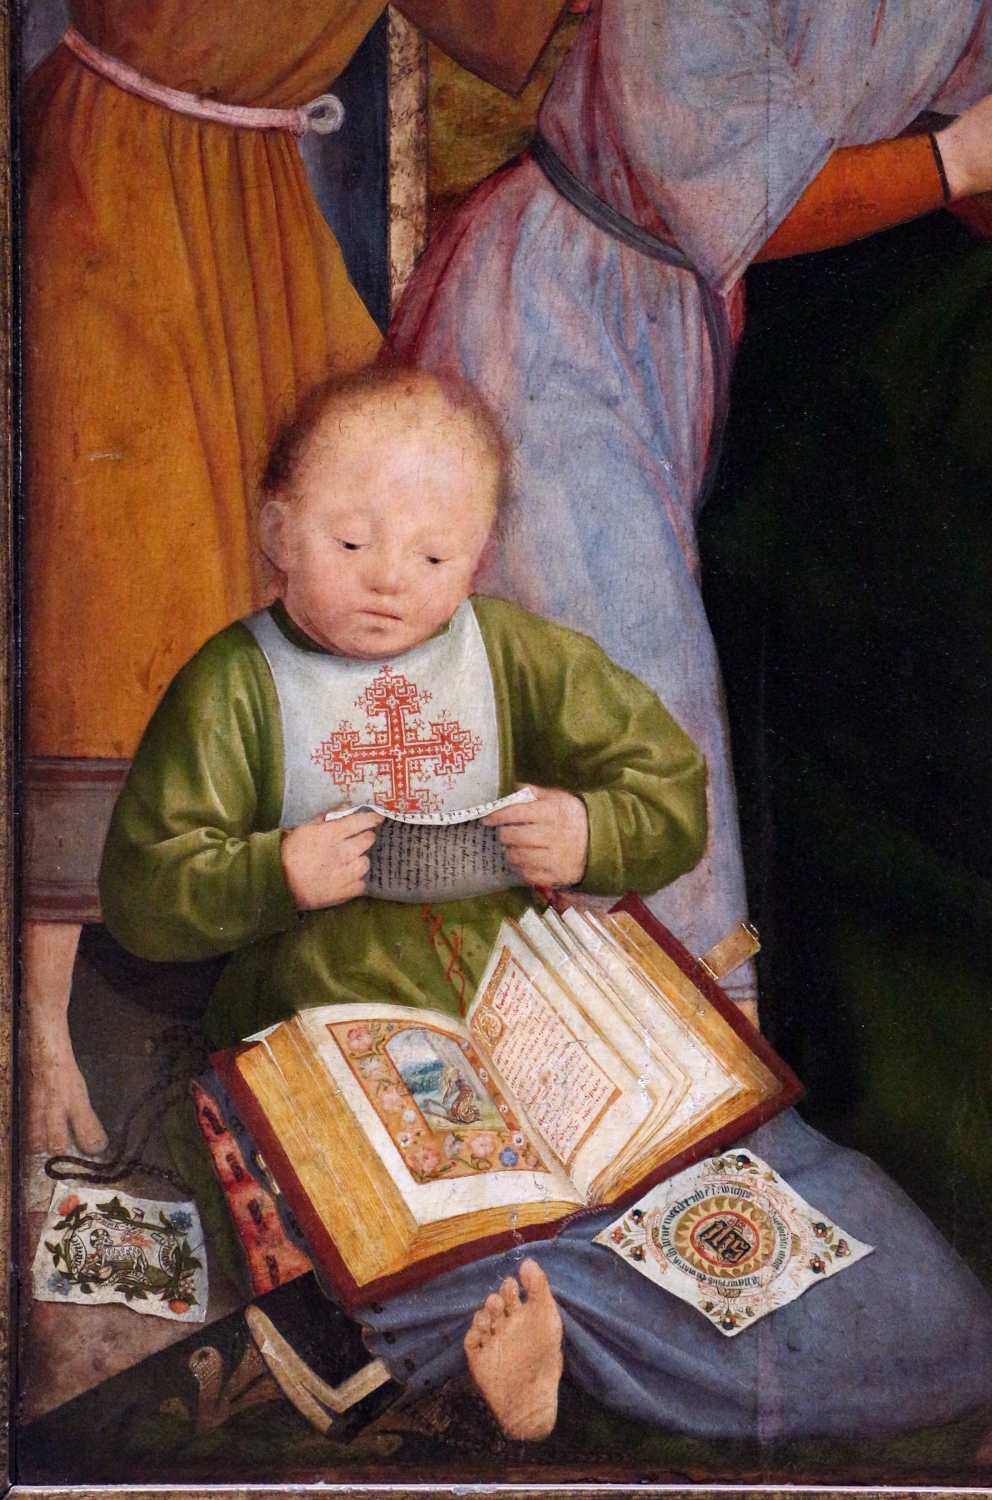
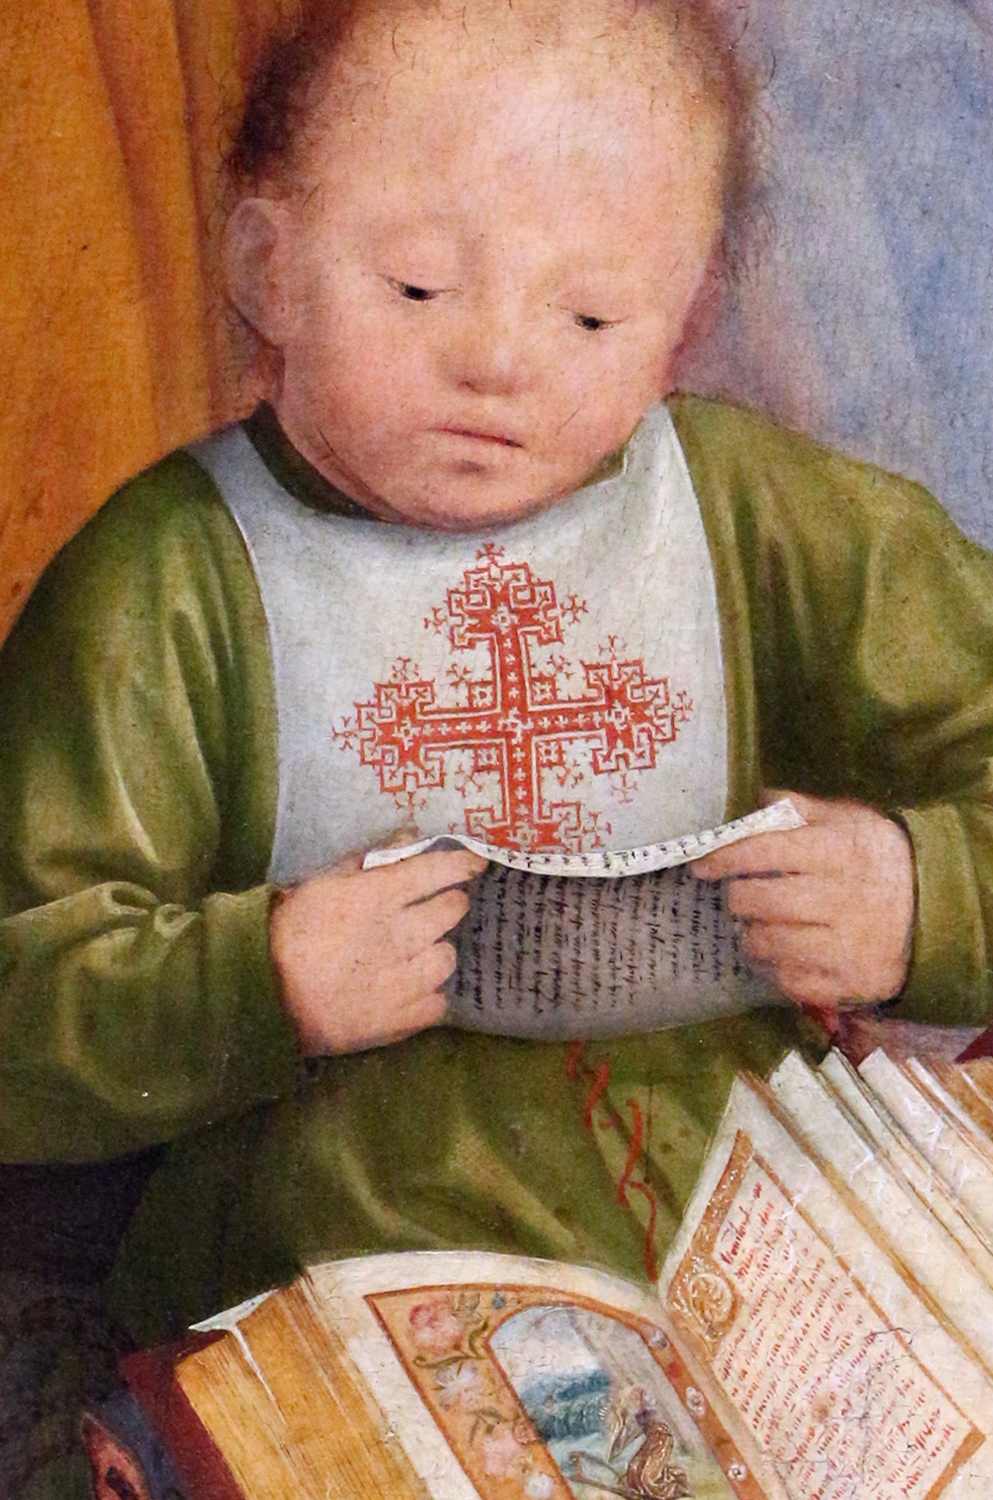
The story of this projects begins in March 2003, when a moderator of a textile forum I was active at at the time draw my attention to a Belgian painting, a fragment of a triptych of St. Anne, dated to 1509. A part of the painting was published in a catalog of the exhibition “Flemish Book Miniatures 1475-1550” held in the Hermitage in 1996. The author of the triptych is Quinten Massijs. The ornament on the child’s bib caught my eye, but I couldn’t find any additional information about the triptych. I didn’t succeed at finding a full reproduction of it either.
Some time later, a description and a full reproduction of the triptych was published by Web Gallery of Art. The best quality reproduction online can be found at Wikimedia.
By looking at a painting, it is not possible to determine with full certainty the technique of creating a pattern on the fabric. So having assessed the challenge, I put the painting aside, only for it to reappear from the archive in the summer of 2004. The project from creation of the initial pattern through to embroidery and later sewing the bib lasted until the spring of 2005 – about 7 months in total.
- Description of the bib
- Materials used
- Embroidery techniques
- Embroidery sample
- Work on the bib
- Mistakes and other notes
- Conclusion

Description of the bib
The width of the bib is 25 cm, the length is 58 cm. A red cross with equal arms is embroidered on the front. Embroidery width 18.7 cm, height 16.6 cm. The lining of the bib is made of the same material as the front and protects the embroidery from possible damage.
Materials used
The fabric is 100% linen plain weave, the density of the fabric is 18 threads per cm. The sewing thread used is 100% cotton. The embroidery thread is Indian spun silk, double thread for Holbein stitch and 4x for long-armed cross stitch.
The same embroidery thread is used for the sample, but the fabric there is a linen-cotton mix basket weave, with a density of 14 double threads per cm.
Embroidery techniques
I share the opinion that it is not possible to determine the technique of textile decoration from an art object, whether it is a painting or a sculpture, so the following is an assumption rather than anything else. Nonetheless…
I came across the fragment of St. Anne’s triptych when I was looking for materials about blackwork. The visual impression of the cross on the bib – the outline, red color – speaks in favor of this technique. While the painting is dated to 1509, when the technique had not yet reached its peak of popularity, the style itself was known in Spain (and, according to some sources, in other parts of Europe) before the English nobility made it fashionable. At the beginning of the 16th century, the territory of modern Belgium was under Spanish influence, so it is not impossible that the Spanish embroidery style was well known there. It is also possible that in the picture we see a child of a Spanish family.
Blackwork is a type of contour embroidery, so if that is one of the techniques used for the the bib, we also need another technique to fill in the contours. Looking for possible combinations, I found pictures of some historical items where contour embroidery is used together with Assisi.
One such example can be seen on the left. This is a cushion cover of Italian origin, which is currently kept in the Whitworth Art Gallery and is dated to the 16th century (the link takes you to the larger version of the image).
Information about the use of Assisi during this period is scarce, but it does exist. It is also interesting that Italy, where this technique originates, was also under Spanish influence at that time. Assisi style embroidery is very similar to what we see on the bib from the triptych.
Implementation notes: embroidery sample
Stage I
The work started not with the sample itself, of course, but with the creation of a pattern. I spent countless hours over the painting with a pencil, some paper and a magnifying glass. The first version of the pattern was drawn in just two and a half hours, but it only had general resemblance to the original. Drawing the second and the third version took a total of more than 10 hours. In the process of embroidery the pattern changed at least 4 more times, and the accuracy of some details is still questionable.
The link to the final pattern draft is at the bottom of this page.
Stage II
For a sample, I embroidered one arm of the cross in Holbein stitch. From the picture on the left, you can see that the corner elements are out of proportion and are too big compared to the ornament in the painting.
Stage III
To test the Assisi version, I filled in the contours with long-armed cross stitch (see picture on the right). Cross-stitch rows are embroidered in alternating direction.
Compared to the painting, the outlines of the elements were too clear, so I decided not to embroider the contours of the elements on the bib.
Implementation notes: the bib
Stage I
The first task was to determine the size of the future embroidery. Based on the painting, I assumed that the width of the bib is about 24-25 cm, so the width of the embroidery itself could be around 18-19 cm.
The density of the fabric I chose is 18 threads per cm. So the width of the pattern in threads would be 324. Since the width of the pattern in stitches is 97, with a simple calculation we get the length of one stich which should go over 3 threads.
Stage II
All contours were embroidered in Holbein stitch. While going in one direction I used a blunt tip needle that didn’t go through the threads of the fabric, and going in the other direction I used a sharp needle. As a result, I got rather straight lines.
Stage III
I filled the contours of the pattern with long-armed cross stitch, with rows embroidered in alternating directions. Click on images below to enlarge.

Stage IV
The last stage was finishing. All loose threads are hidden under the rows of cross stitch, no ends were left on the back side. After that, the bib was cut out and sewn together with the lining.
Potential mistakes
I changed the corner elements of the pattern at least 5 times, and they still remain the weakest bit. As can be seen from the enlarged fragments, the corner elements can be read differently depending on which part of the painting is used as the baseline.
Looking at the painting, the element on the right side is more similar to my version, while the element on the left side resembles the elements at the arms of the cross.
Conclusion
It is certainly possible to recreate the embroidery from a painting, yet there is no certainty that the result would be close to the original, or even to the painting itself. At the same time, the whole process is exciting and engaging, so it compensates for any doubts emerging in the process.
Download the embroidery pattern as pdf.